Since the days of social media and sharing our photographs online, the demand and popularity for printing pictures has very much decreased. With my mum being a photographer herself, I’ve grown up in a house full of pictures which still take me back to some wonderfully nostalgic memories over the years. This passion for capturing moments and cherishing them in the form of photos has definitely rubbed off on me, so I’ve always loved documenting my life through the camera too.
 Even as a nineties baby who shares a lot of photos online, I’ve continued to print my favourite pictures over the years to create albums, collages or to frame on my wall. When I moved to Australia two and a half years ago, it became less of a priority to be printing all the photos from the incredible memories I was making at the time, yet I always knew I would create an album or collage when I got chance.
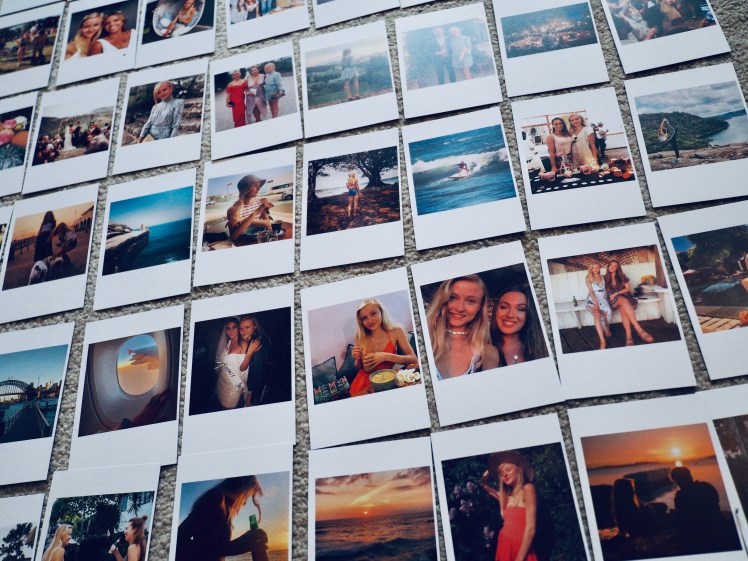
 There were a lot of fantastic photos from my time living in Australia, so it was hard to narrow down the final polaroids for this section of the collage. In total I decided to make my creation span the past two years of my life – from moving to Aus, my brother getting married and then travelling again with my best friend back in January. Choosing my images for print was challenging, so I would recommend allowing the time to thoroughly scan your social media posts and all of your albums to get the very best of your pictures.
 Inspiration to make this Instagram feed style collage came from one of my favourite Swedish influencers Janni Olsson Deler – https://janniolssondeler.com. The concept is simply to recreate a retro style timeline of prints across a certain period of your life, however you could also use this idea to collage a special event such as a wedding or birthday. It was the perfect solution for summarising the highlight reel of the past two years of my own travels and adventures.
 The first step to making your collage is to find a suitable frame, preferably as large as possible. Then once you know the size of your frame, you can order the suitable number of polaroids to fit. My frame was 50cm x 70cm and the polaroids which I managed to get in a mini size from Inkifi were 5.5cm x 8.5 cm, so doing the maths I figured out I could fit 8 across by 8 down, equalling 64 polaroids in total. I decided to order about 10 extra prints as I wanted to see them all laid out first to perfect the balance of colours and compositions.
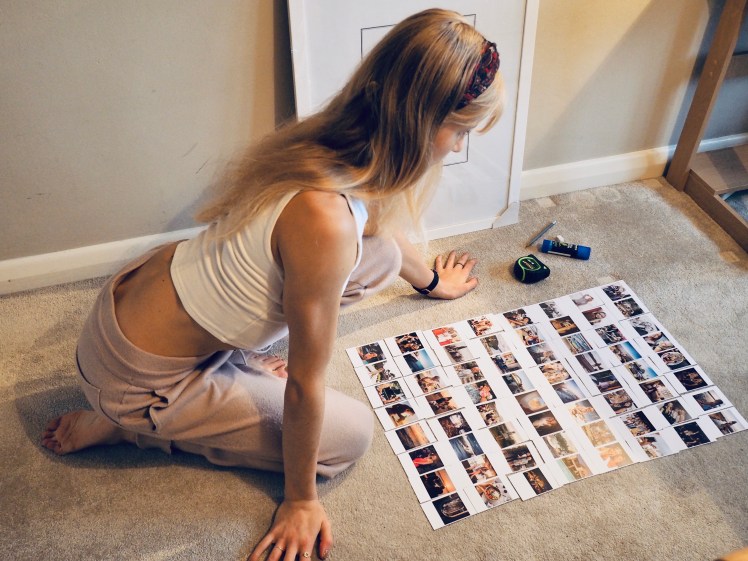 At only £0.25 per mini Polaroid I ordered from Inkifi.com which proved not only reasonable on price, but also brilliant quality prints with perfect colour and a lovely matt finish. The only other element to consider is what you will be sticking your polaroids onto. I simply used the white paper insert which came in the frame along with a good old fashioned glue stick to secure each print in place. After measuring the boarder width and length each side, I began lining up and sticking each polaroid on side by side.
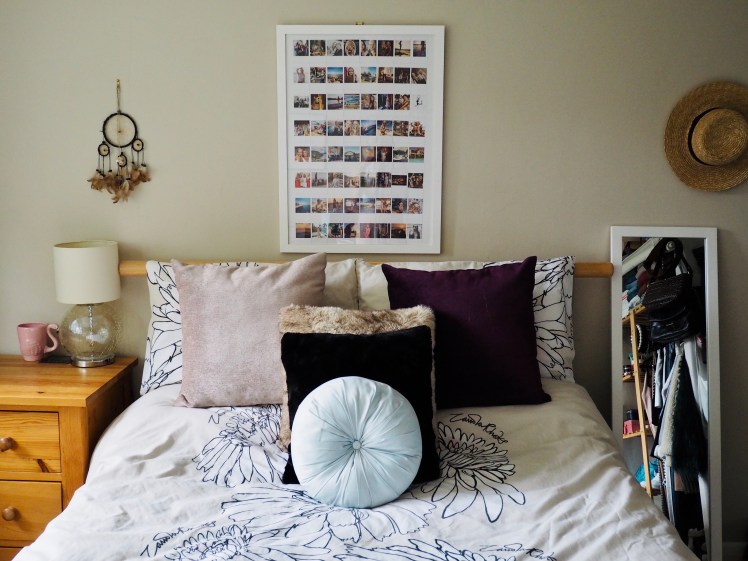
 Once complete, it’s time to open up your frame and give the glass a good clean inside and out, before placing in your final piece. I was so pleased with the overall outcome of my collage and couldn’t believe how easy it was to assemble. I purchased my frame from Ready Made Picture Frames in Basingstoke as this company has worked alongside my mum’s business for years, but equally you could easily find frames of all sizes online. Originally I tried hanging it above my bed, however this is a picture people need to get up close to in order to see the individual photos in detail, so I moved it to be next to my desk instead.
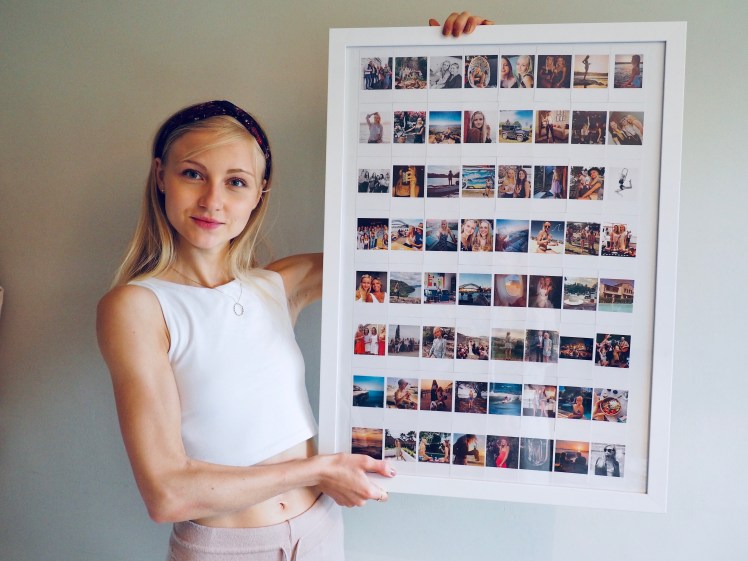
 This retro way of displaying your photos is not only aesthetically pleasing, but is also a perfect way to enjoy numerous snapshots all in one place. I will cherish my collage which encapsulates the past two years of my life, full of so many wonderful memories and exciting events. Who knows what the next few years will bring for me, but I can’t wait to make another polaroid collage following the next exciting chapter of my life.

Fujifilm have the Instax
LikeLike